


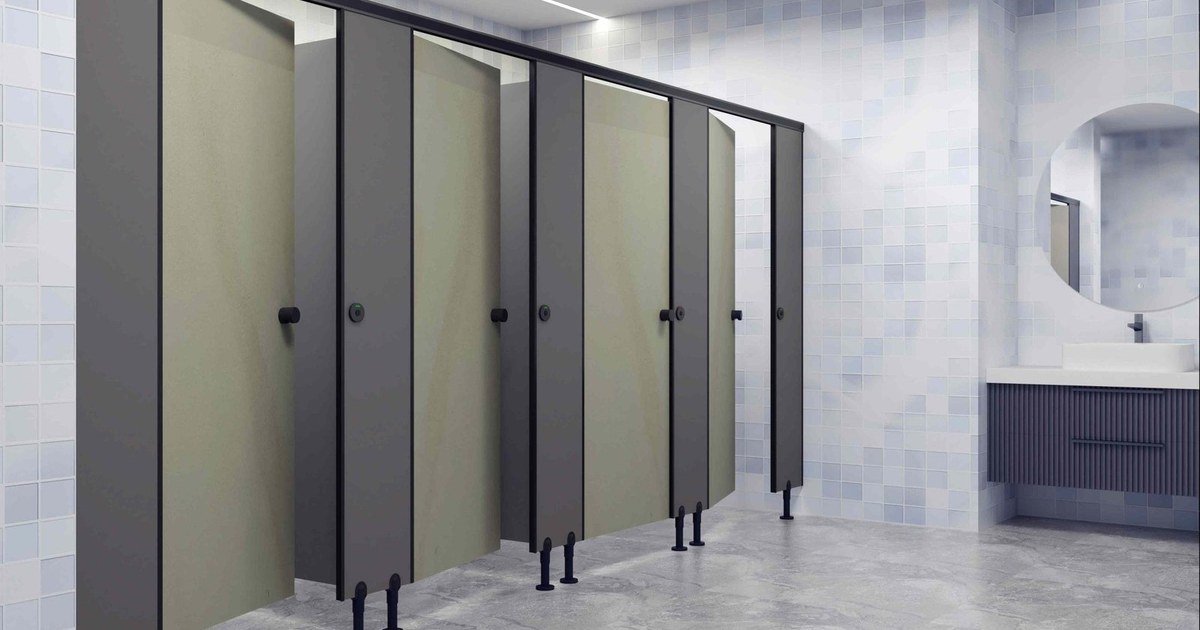
A smooth toilet cubicle installation starts long before the first panel arrives on site. Most delays come from walls that are not finished, ceilings that are too low or measurements taken from old drawings. This guide walks through the full toilet cubicle installation process, from site readiness and survey to fixing and handover, across the full cubicle range. It is written for builders, site engineers and facility teams who want cubicles fitted once, fitted right and handed over without snags or delays.
Key Takeaways
- Toilet cubicle installation should start only after tiling, ceiling, painting, electrical work and plumbing are complete.
- A site survey by a good HPL restroom partition installation company, plus approved drawings, prevents most problems with fit, levels and fixing points.
- Typical installation for commercial spaces takes 7 to 8 business days, followed by a joint handover inspection.
Before Toilet Cubicle Installation: Get the Site Ready
Cubicles are the last fit out item in a washroom. They need finished walls, floors and ceilings, so readiness comes first.
Every Super Creations series page lists the same rule. Work begins after wall tiling, floor tiling, ceiling, grouting, painting, electrical work and plumbing are complete. If cubicles go in early, other trades can scratch panels, chip tiles around legs or need to move pipes that are already boxed in. Waiting a few days for finishes before toilet cubicle installation is far cheaper than repairing damage later.
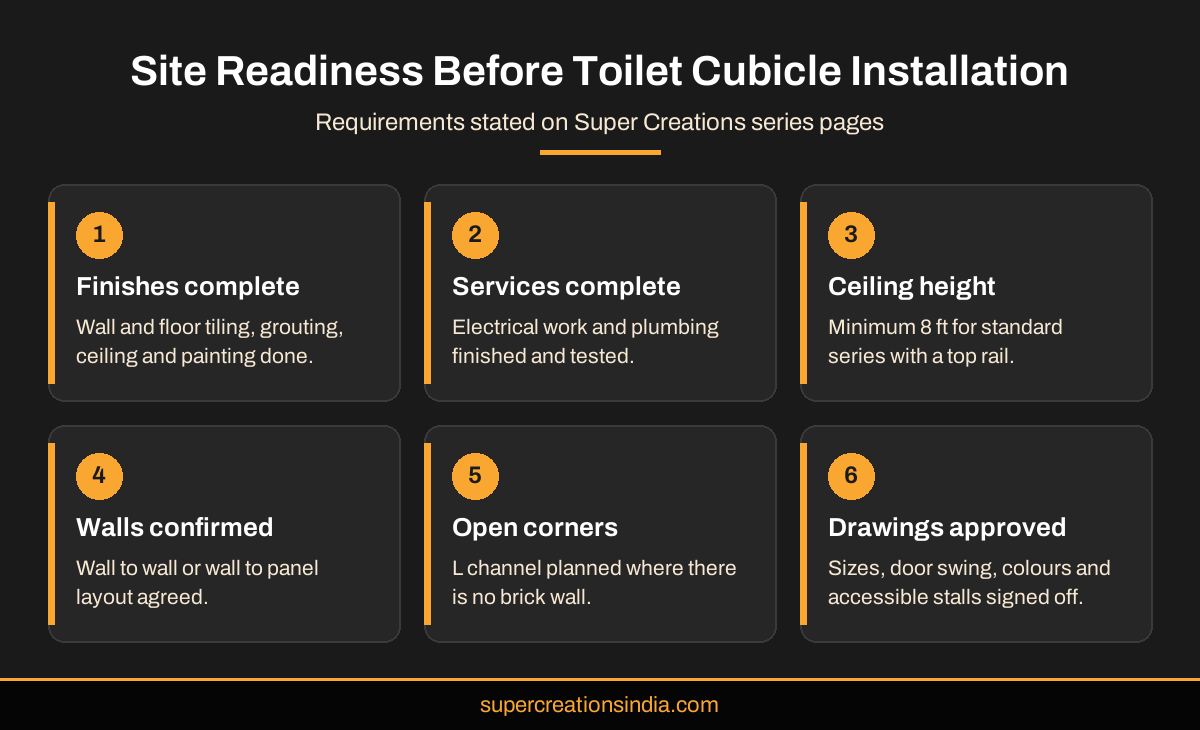
Ceiling height is the next check. Standard systems such as the Smart Series need a minimum ceiling height of 8 ft, because pilasters stand on adjustable legs and connect to a top rail. Designer systems differ. The Eminence Series is suspended from a concealed frame in the false ceiling, so the ceiling must be planned for it from the start.
Walls matter too. A system can run wall to wall, or wall to panel where only one side wall exists. Where there is no brick wall at a corner, an aluminium L channel connected to the top rail closes the end. Confirm these conditions before the order, so the supplier brings the right parts for your toilet cubicle installation.
Storage and access should also be agreed before delivery. Compact laminate panels are heavy and their faces can be scratched if they are stacked carelessly or moved through busy corridors. Reserve a clean, dry space near the washroom and confirm lift or stair access for long panels. On a multi floor building, plan toilet cubicle installation floor by floor, so materials arrive only when each washroom is ready.
Site Survey, Drawings and Approval
Measure the real room, agree the drawings, then fabricate. Skipping this step is the most common cause of poor fit.
A site survey records actual wall positions, floor levels, ceiling heights and the location of WCs, urinals and drains. Old architectural drawings often differ from the finished building by a few centimetres. That is enough to leave gaps at walls or make doors clash with pans. A good hpl restroom partition installation company will always measure on site before cutting panels.
On any supply and installation of HPL toilet cubicles, the survey feeds the shop drawings. These show each cubicle size, door swing, pilaster position and urinal panel. Super Creations offers CAD files on request, which makes it easy for architects to check and approve the layout. Approve colours at the same time using physical samples, because compact laminate shades can look different under washroom lighting.
Accessibility should be confirmed here too. Accessible cubicles need more space and grab bars, so mark them clearly on the drawings. Building rules in India, including the National Building Code published by the Bureau of Indian Standards, are a useful reference for planning accessible toilets.
Use the survey to coordinate with other trades as well. Plumbers should know where legs and brackets will sit, so pipes and floor traps do not block them. If an LED indicator series such as Vogue or Ellipse is planned, ask the supplier early what power it needs. A short meeting at this stage keeps the toilet cubicle installation on schedule and avoids cutting into finished tiles later.
Step by Step: How a Toilet Cubicle Installation Is Done
Fixing follows a clear order, from setting out to final adjustment. Each step builds on the one before.
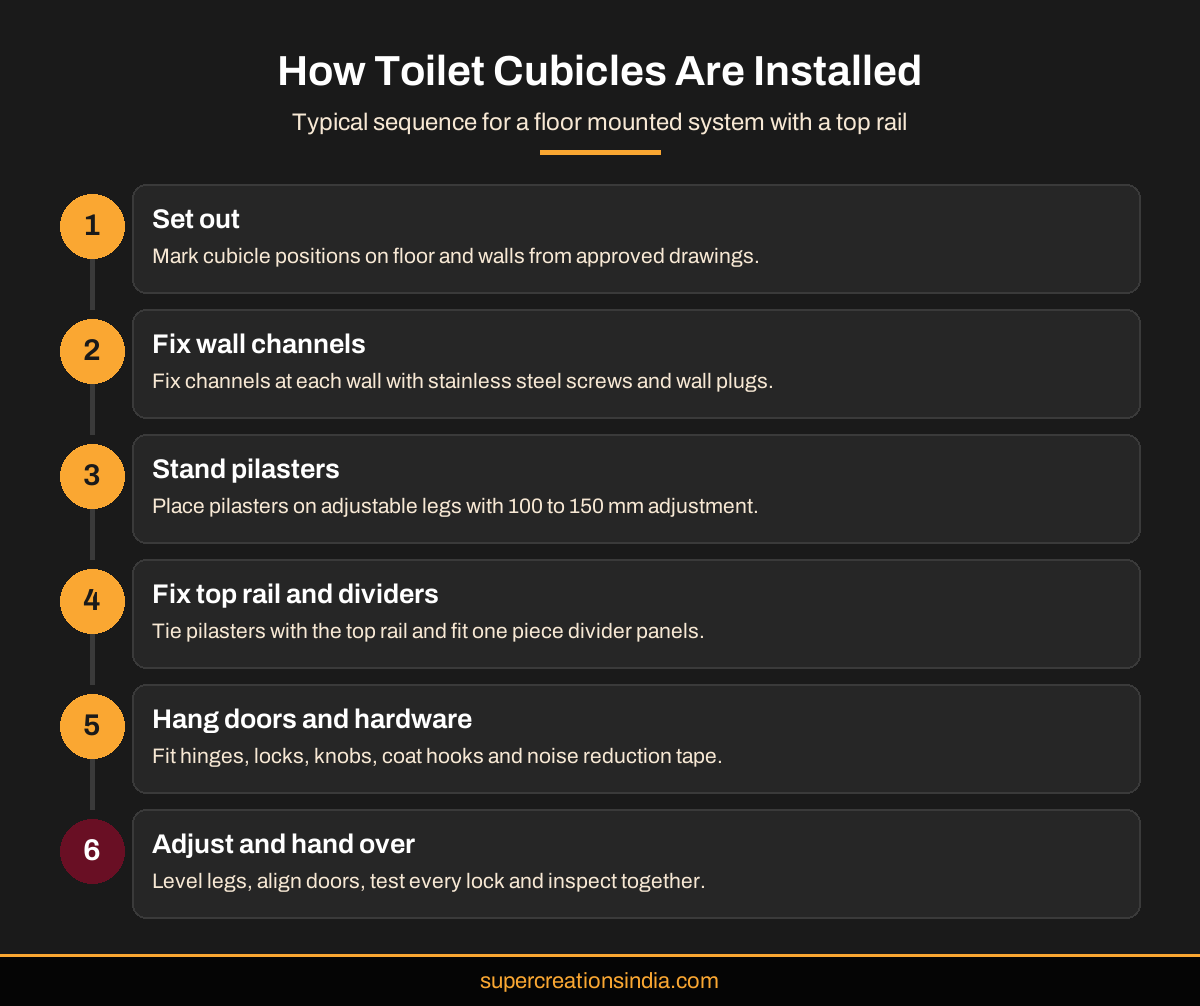
The team first marks cubicle positions on the floor and walls from the approved drawings. Wall channels are fixed at each wall junction with stainless steel screws and PVC wall plugs. Pilasters are then stood on adjustable legs, which allow 100 to 150 mm of adjustment, so the system stays level even on a sloping washroom floor.
Next comes the top rail. In standard series it is 50 mm wide and fixed along the pilasters to tie the whole run together. Divider panels are fitted between cubicles. In the Super Creations specification each intermediate panel is one continuous panel without joints, and visible edges are chamfered for safety and a clean look.
Doors are hung last. Hinges, indicator locks, door knobs and coat hooks are fitted, and door noise reduction tape is added. The installer adjusts each door so it closes cleanly and lines up with its neighbours. Finally, the legs are fine tuned to keep the 150 mm floor clearance consistent, which makes floor cleaning easy.
Floor free and suspended systems follow a different order. In the Prominence Series a load bearing top rail carries the cubicles, and in the Eminence Series the frame is hidden in the false ceiling. These systems need extra attention to wall strength and ceiling structure. Ask your installer to explain the fixing method on the drawings, because each toilet cubicle installation type places loads on the building in a different way.
Box up versions such as the Excel Box Up Series add a front and bottom stainless steel box for extra privacy. They suit showers, change rooms and Indian style toilets, so confirm the box detail on the drawings before fabrication.
Timeline, Handover Checks and Care
Plan a typical toilet cubicle installation for about a week and a half of working days, then inspect every cubicle together before sign off.
The Super Creations FAQ states that typical installation for toilet partitions in commercial spaces takes 7 to 8 business days. Large projects can be phased floor by floor. At the Narayana College project, 36 Smart Series cubicles were installed for a high traffic student washroom, and the case study credits close coordination between the product and installation teams.
At handover, walk the washroom with the installer. Open and close every door. Test each lock and indicator. Check that legs are level, top rails are firm and edges are smooth. List any defects in writing with a date for correction. This is the point where supply and installation of HPL toilet cubicles should end with a system that works perfectly on day one.
Cleaning advice should be part of the handover. Compact laminate partitions are best cleaned with mild detergent, warm water and a soft cloth, avoiding harsh chemicals and abrasive pads. Share this with the housekeeping team before the washroom opens.
Keep a short record for facility managers. Note the series, colours, hardware grade and number of cubicles installed in each washroom. If a part needs replacing years later, this record makes ordering quick and accurate. It also helps when the same building plans another toilet cubicle installation in a new wing, because the look can be matched.
If you are searching for bathroom partitions installers near me, ask whether the company supplies and installs with its own team. Bathroom partitions installers near me may be quick to visit, so also check their past commercial work. Super Creations works from Hyderabad with branches in Chennai and Bengaluru. Read our installation FAQs for more answers.
Conclusion
A successful toilet cubicle installation depends on preparation as much as on fixing. Finish the room first, survey it, approve drawings and colours, then let a trained team set out, fix and adjust the system. Expect around 7 to 8 business days for typical commercial spaces, and close with a joint handover inspection. Super Creations plans, supplies and installs cubicles across 14 series. To book a site survey for your project, contact our team today.